

Policy Templates #
A Policy Template defines a repeatable access arrangement for application creation. It describes the User Groups, the Permission Groups for their resources and the optional resource restrictions. Use a template when new applications must start with a consistent access structure.
1. View Policy Templates #
- 1
Switch to or stay in the Super Admin Portal.
- 2
Click User Policies in the left menu.
- 3
Click Policy Templates. To create a template, click New Policy Template.
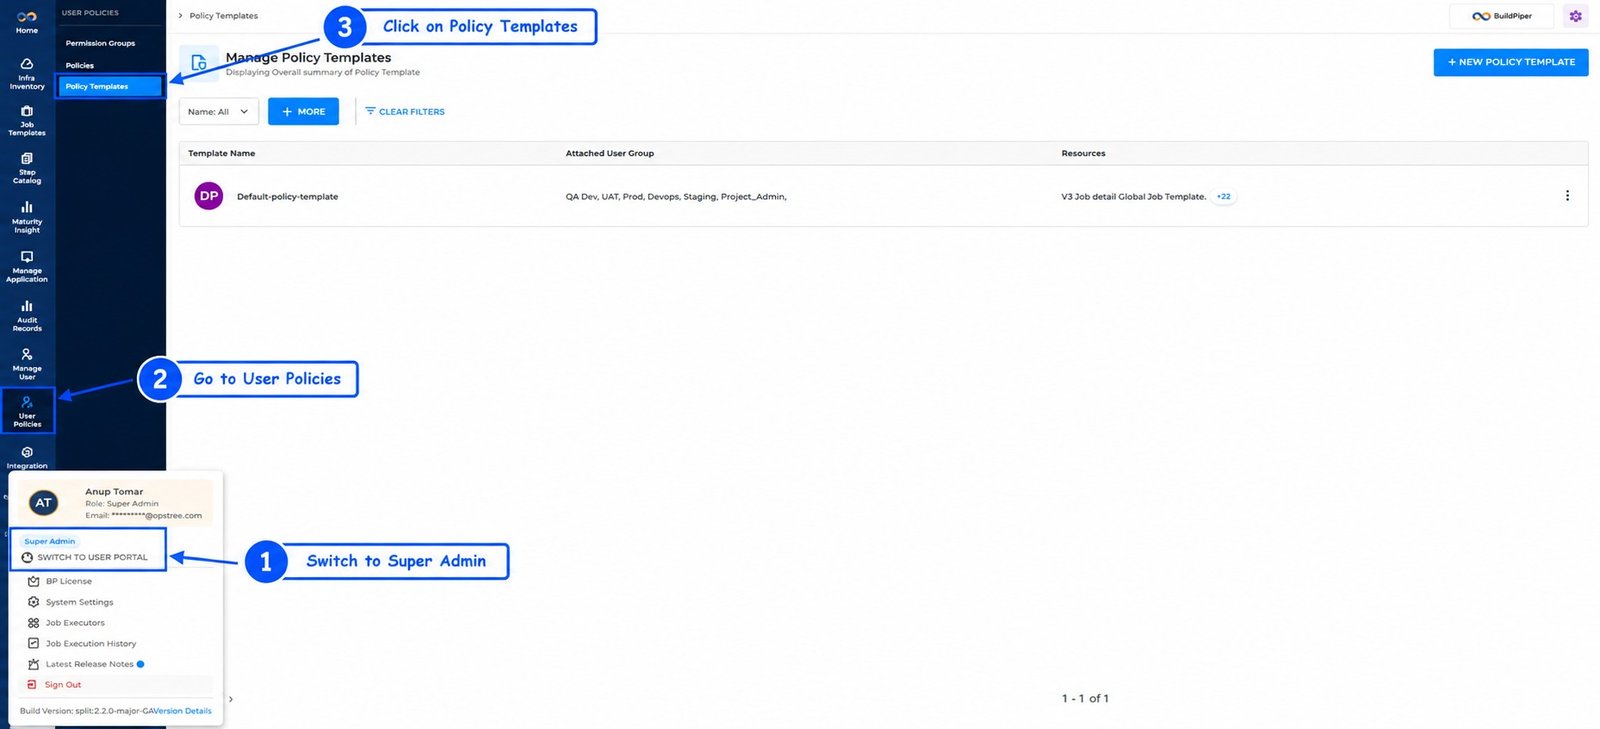
Figure 1: Navigation to Policy Templates
The list shows Template Name, Attached User Group and Resources. Use the Name filter, Clear Filters and pagination to find a template. The row menu offers Edit and Delete.
2. Create a Policy Template #
The wizard has two steps: Policy Template and Resources Assigned.
2.1 Step 1: Policy Template #
- 1
Click New Policy template.
- 2
Enter a name in Give a name to your Policy Template.
- 3
To start from an existing template, enable Do you want to clone from default template or select another template for cloning? and select Clone Template.
- 4
Click Continue.

Figure 2: New policy template, Step 1
2.2 Step 2: Resources Assigned #
- 1
Choose a group tab: Devops, Dev, QA or Project Admin. For another group, select New User Group and enter Enter Custom Usergroup Name.
- 2
Choose Select Resource.
- 3
Move the required groups from Assign Permission Groups to Assigned Permission Groups with the right arrow.
- 4
Leave access to all resources enabled, or turn it off and add saved filters.
- 5
Click Save on the configuration card.
- 6
Review the table under User Group: [name], and use Add More for further mappings.
- 7
Click the final Save of the wizard.
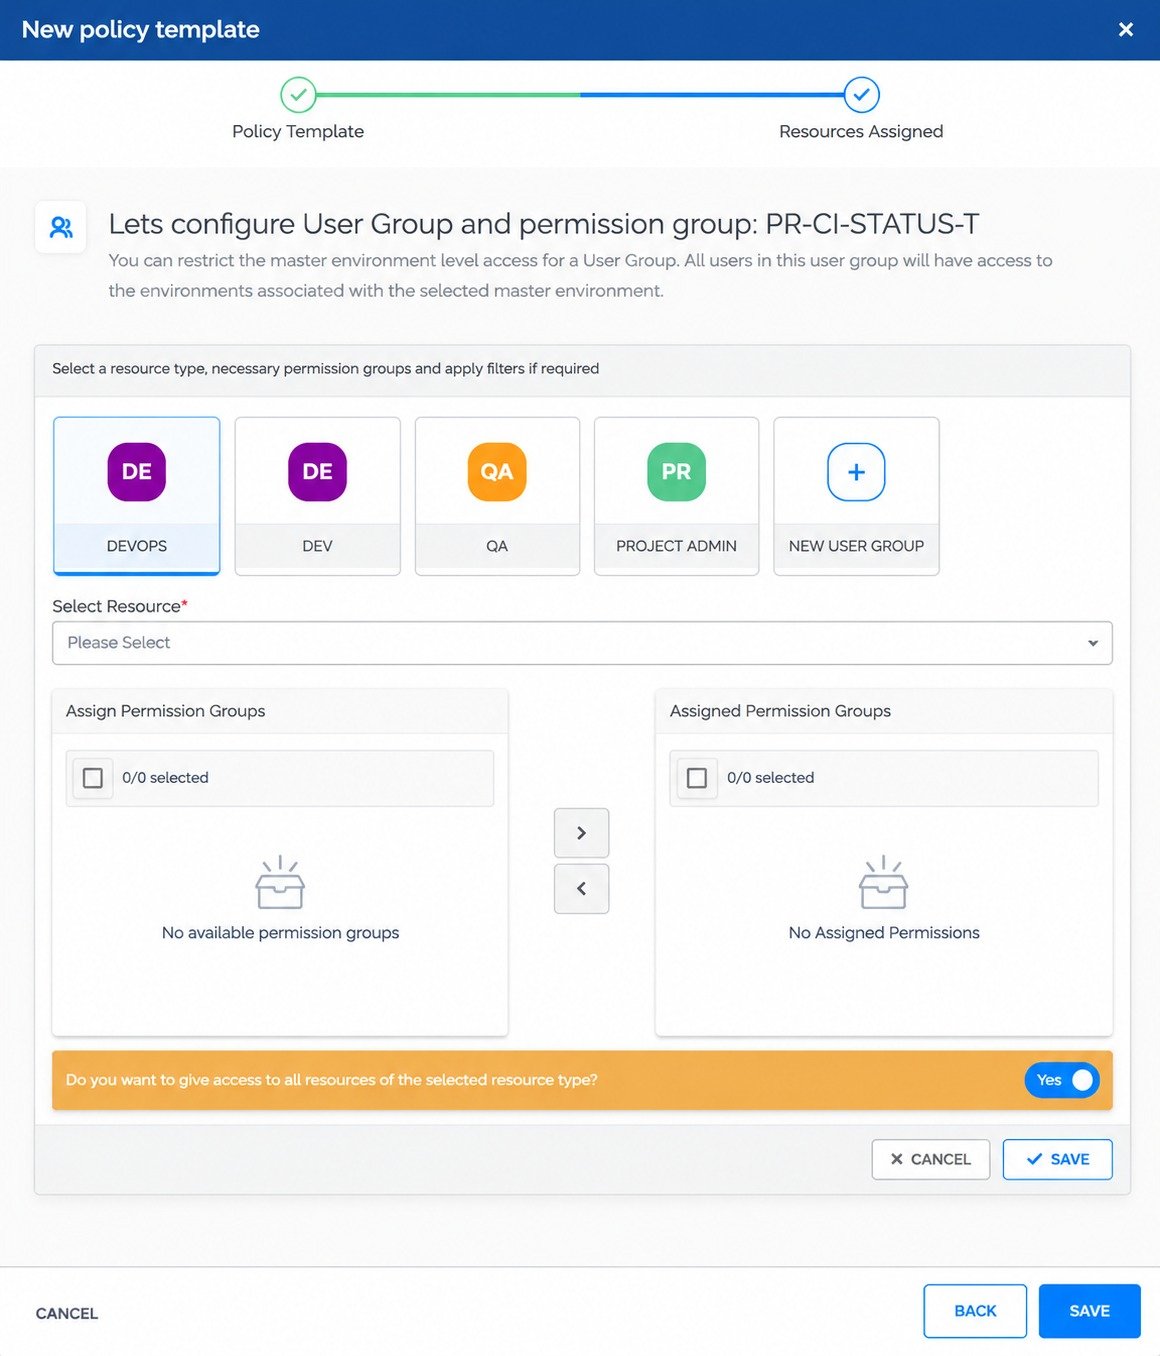
Figure 3: New policy template, Step 2: Resources Assigned
| Input | Guidance |
|---|---|
| Template name | Required. Identify the access structure or the application class. |
| Clone Template | Select a source when cloning is enabled. Review the copied mappings in step 2. |
| Group tab or custom name | Defines the group of the mapping. |
| Select Resource | Required for a resource mapping. |
| Resource restrictions | When access to all resources is off, save at least one filter before you save the mapping. |
Note: The final Save requires at least one configured mapping. Otherwise BuildPiper shows Please map at least one Permission Group.
3. Edit, Delete and Use a Template #
3.1 Edit a Policy Template #
Edit a template when the access structure for new applications changes.
- 1
Open Policy Templates, and click the row menu of the template.
- 2
Select Edit. The wizard opens at Policy Template.
- 3
Change the template name if required, and click Continue.
- 4
In Resources Assigned, edit, delete or add the mappings of the user groups.
- 5
Click Save to keep the changes.
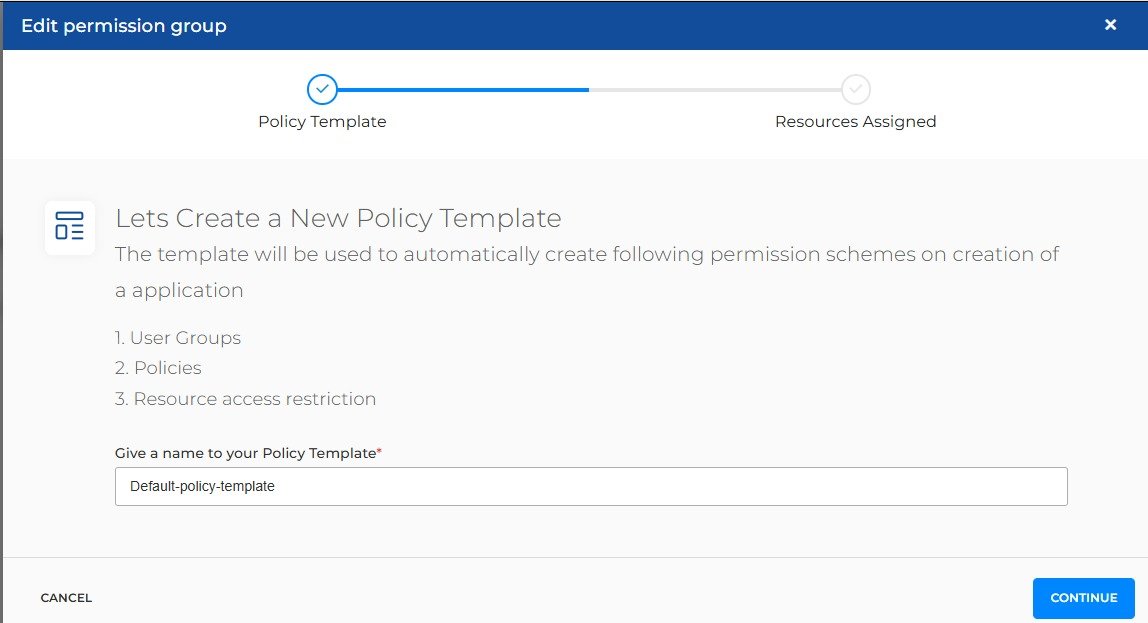
Figure 4: Edit policy template
Note: If you remove the last mapping of a user group, that group is removed from the template.
3.2 Delete a Policy Template #
Click the row menu of the template and select Delete. Follow the shared deletion procedure.
3.3 Use a Template When Creating an Application #
- 1
While you create the application, choose Select Policy Template. If a template named Default-policy-template exists, it is selected first.
- 2
Review the selection. Choose another template if the application needs a different access structure.
- 3
After the application is created, review the generated user groups and policies, and assign the users.
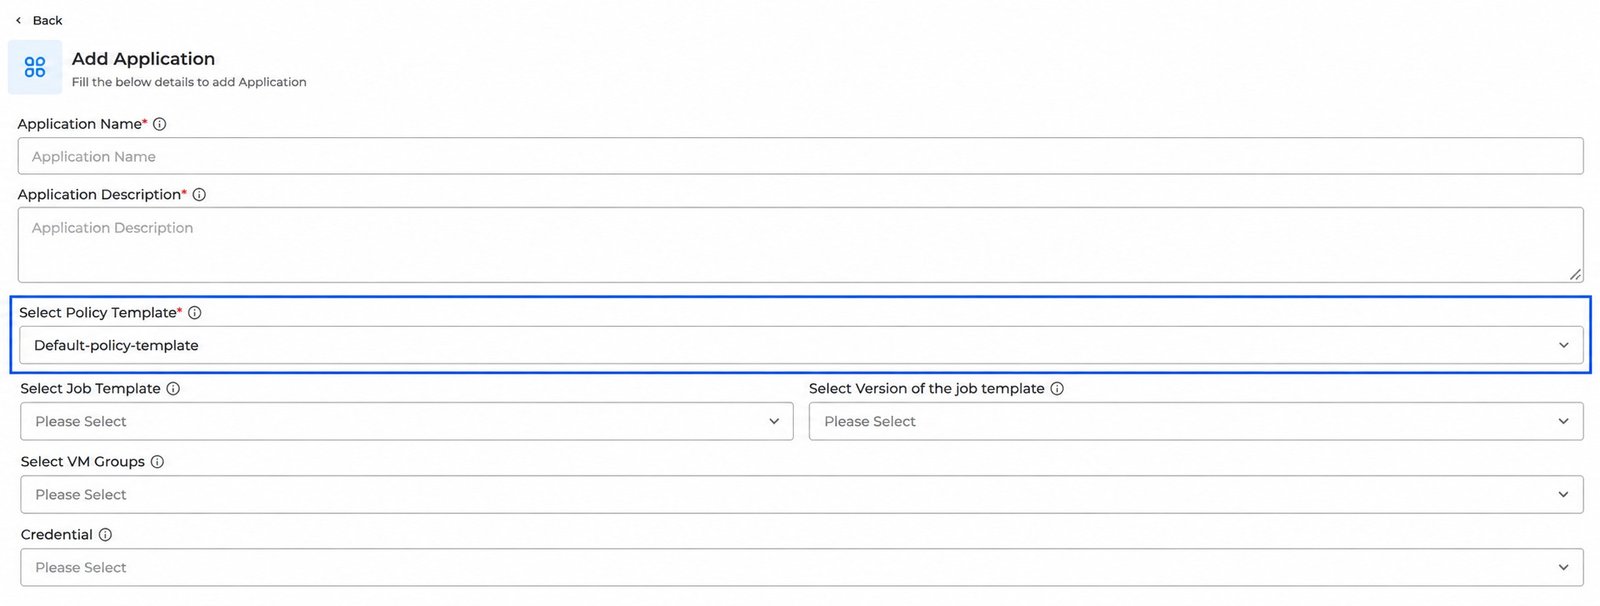
Figure 5: Add Application, Select Policy Template
Note: Later changes to a template do not update applications that were already created. Review the policies of those applications separately.
4. Troubleshooting #
| Situation | What to check |
|---|---|
| A restricted mapping will not save | Add and save at least one filter, and confirm that a resource type is selected. |
| The final Save reports no mapped Permission Group | Save a complete group and resource configuration into the table first. |
| Save or Delete fails | Read the validation or dependency message and correct the issue. |